Why this matters
When you flip the switcher on, it comes up in a default state with nothing where you need it. The standard config has all our camera grades, keyers, and audio routing already saved, so loading it gets you back to normal.
Open ATEM Software Control
Find the red ATEM icon in the taskbar (or Start Menu → Blackmagic Design → ATEM Software Control) and click to open it.
It should connect to the switcher automatically. If nothing's happening, close it and open it again.

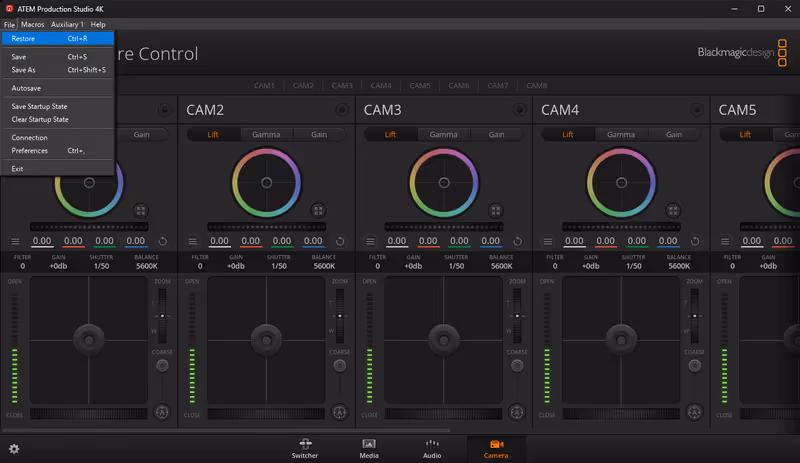
Open the File menu and click Restore
Top-left: File → Restore (or just Ctrl + R).
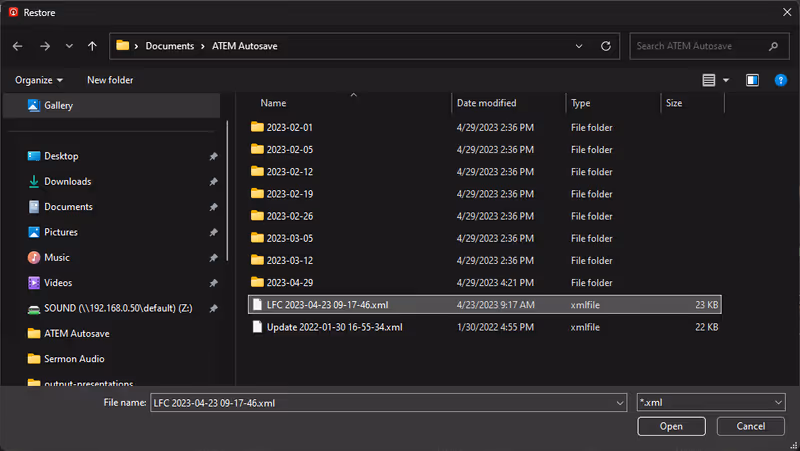
Pick the LFC config file
The dialog should open to Documents/ATEM Autosave. Pick the file starting with LFC. Ignore the dated folders, those are auto-saves the app makes on its own. Click Open.
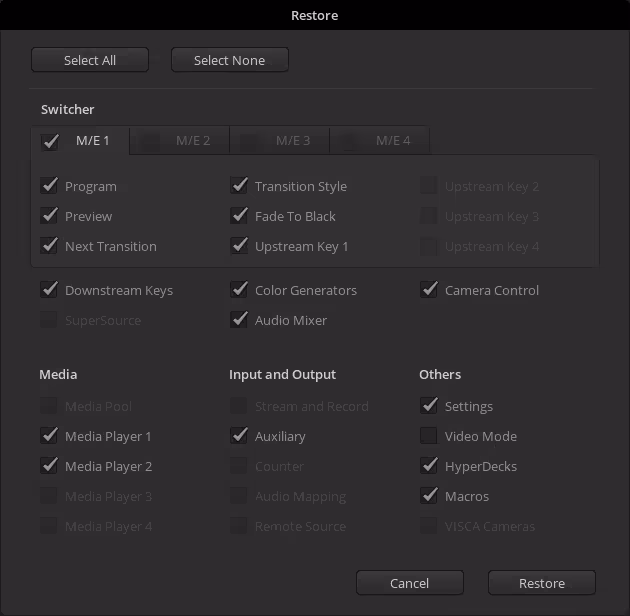
Confirm and click Restore
A dialog pops up with a list of things to restore. Everything you need is already checked by default. Just click Restore.
Check the preview
All four cameras should look right. Same warmth across all of them, white balance where you'd expect. If something looks off, run the restore again.
If something's off
- Switcher didn't connect: close the app and open it again. If that doesn't do it, make sure the switcher itself is powered on. If it's still not connecting, flag a tech.
- Cameras still look wrong: run the restore again. If a couple tries don't fix it, flag a tech.